*This post may have affiliate links, which means I may receive commissions if you choose to purchase through links I provide (at no extra cost to you). Thank you for supporting the work I put into this site!
If you happen to read my last post you probably know that we recently did some pretty major home improvements lately! Part of those home improvements was adding shiplap to three different walls in our house.
I have always LOVED the look of shiplap. The farmhouse look is totally my jam! I also love the show Fixer Upper starring Chip and Joanna Gaines! We are best friends, (they just don’t know that wink wink)
Anyways, back to the shiplap. I had a few walls in my house that I felt just needed a little something extra. Shiplap has a way of taking a boring and plain wall and adding some texture and character.
First I thought I would start by showing you the before and afters of the three walls that we did…
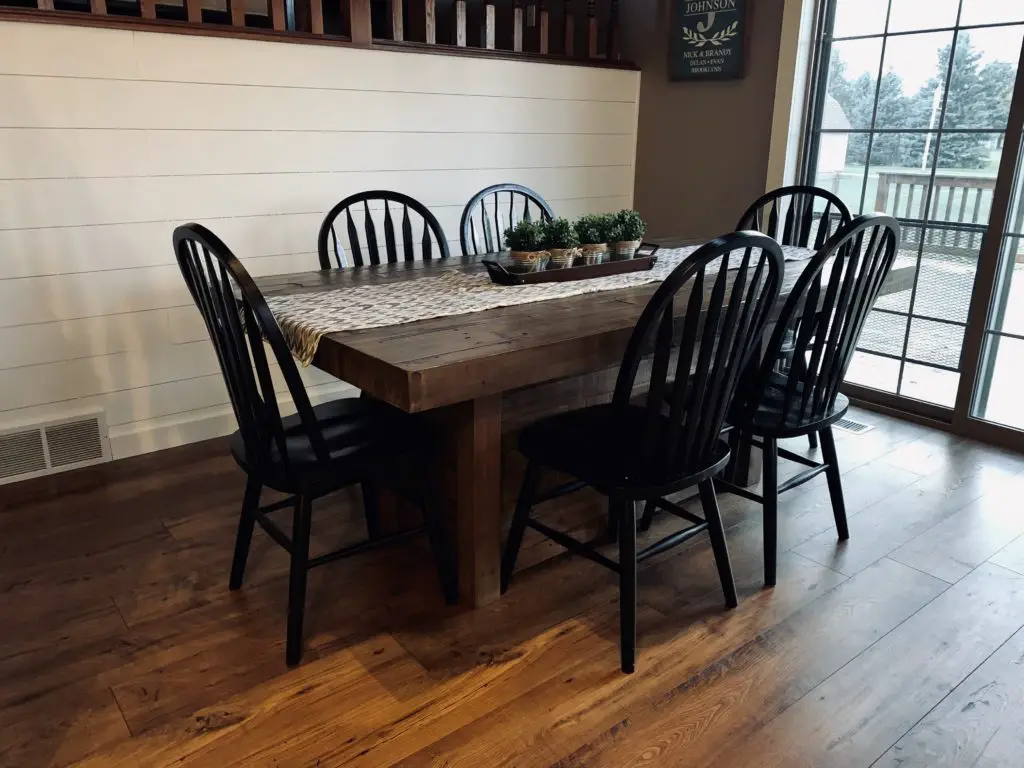
The first was in our dining room. Here is the before…
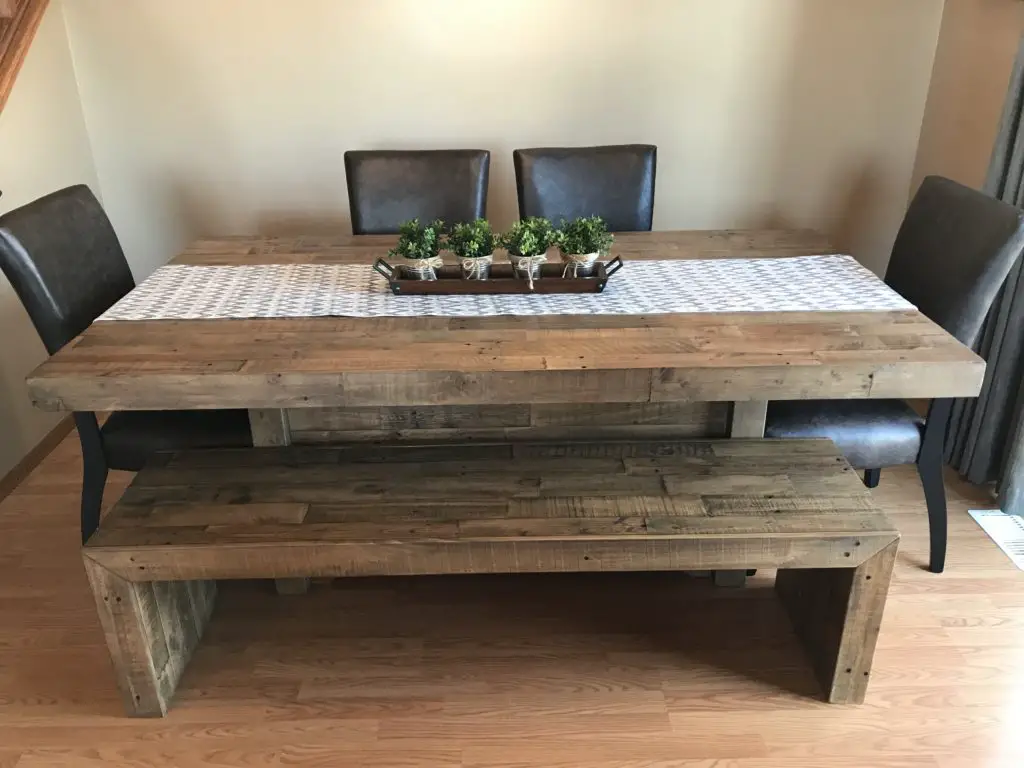
Here is the after…
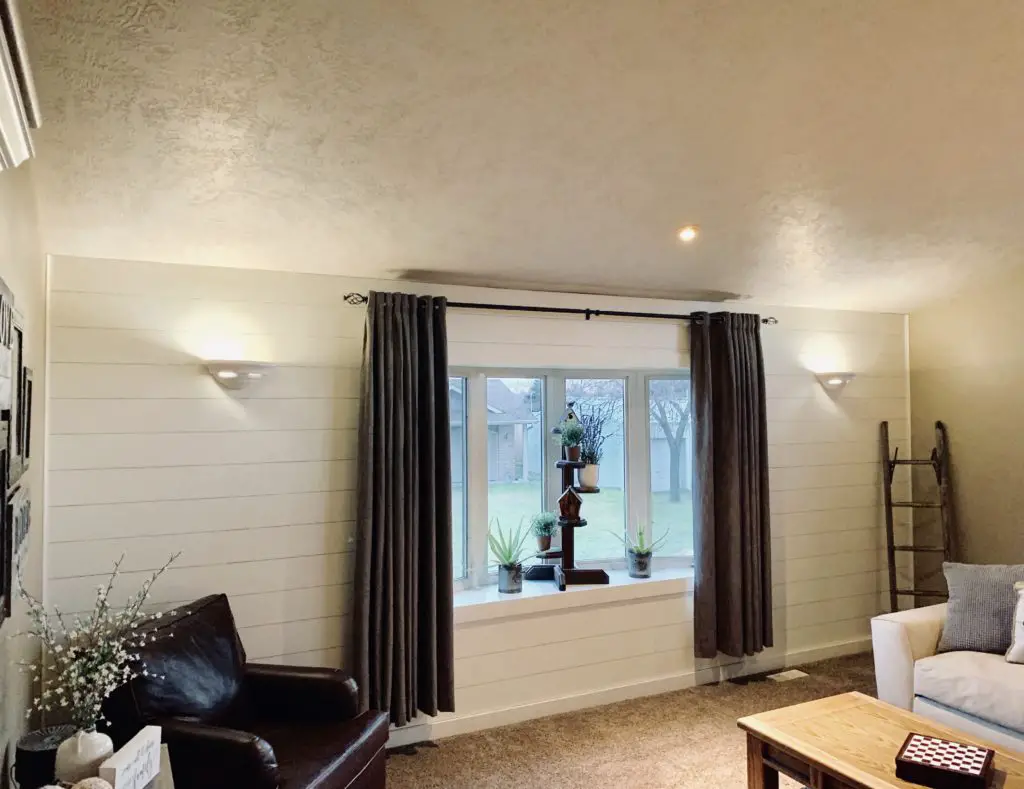
The next wall we did was in our living room. Here is the before…
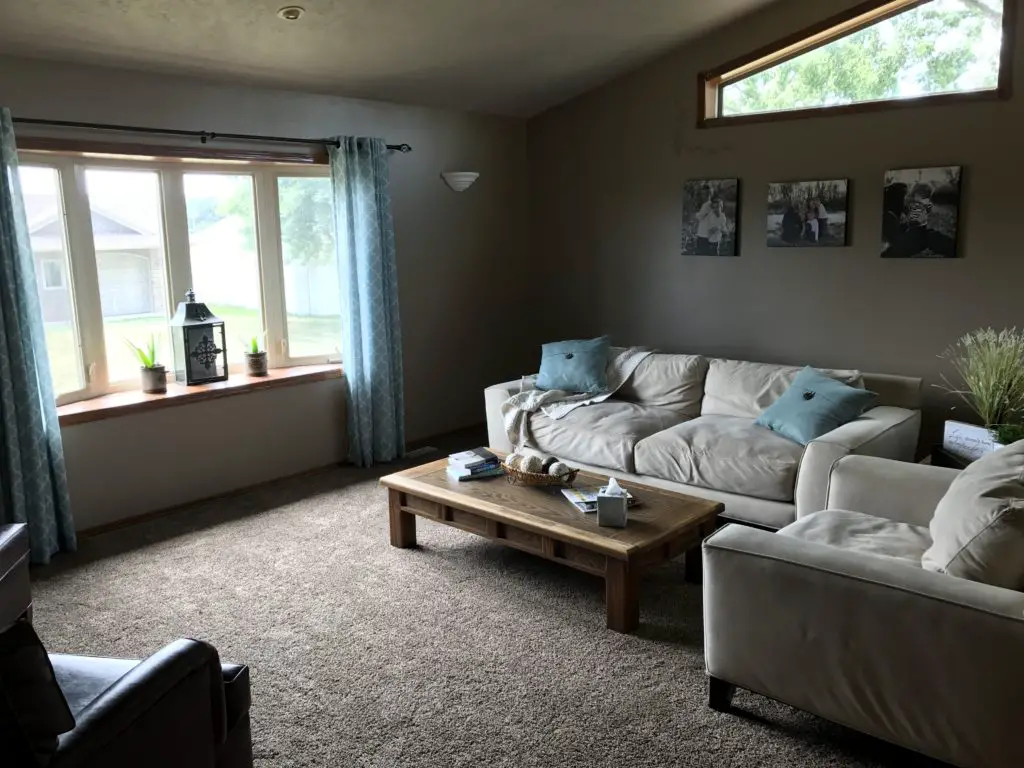
Here is the after…
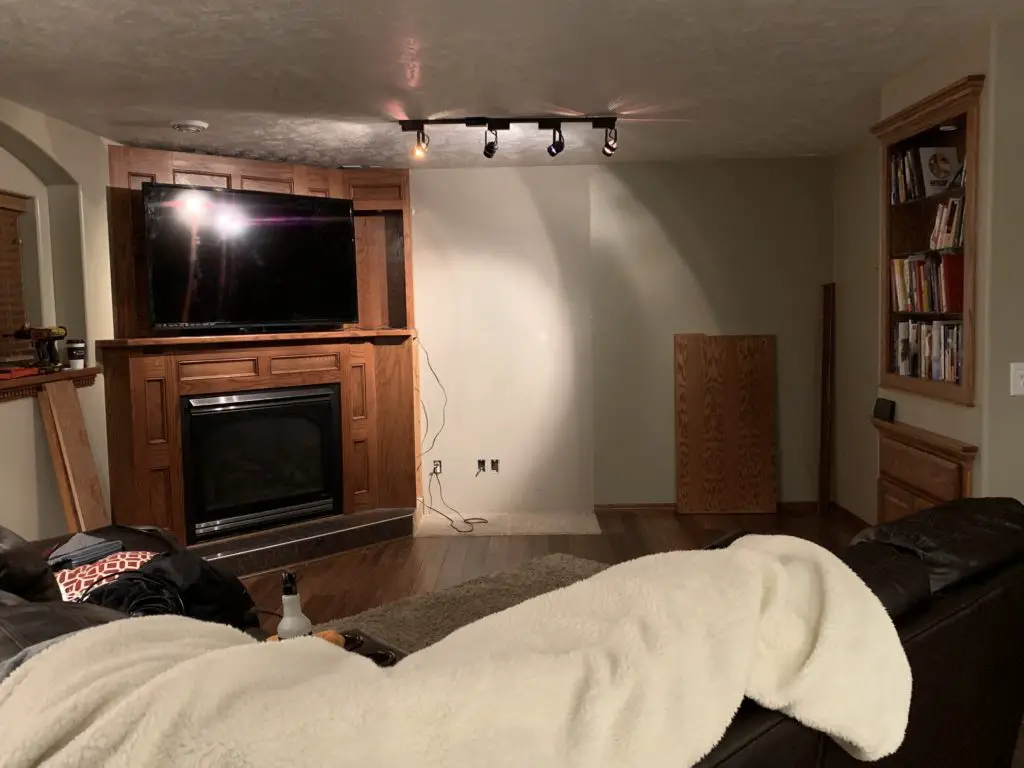
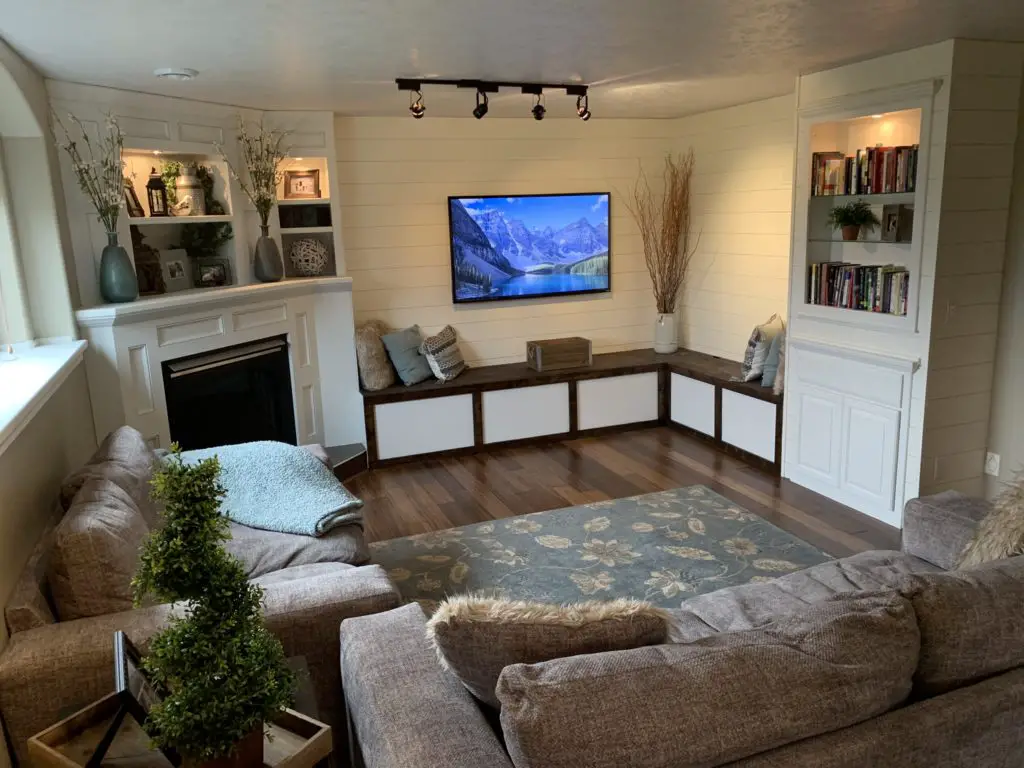
The final room and probably my most favorite is in our basement. Here is the before…
Here is the after…
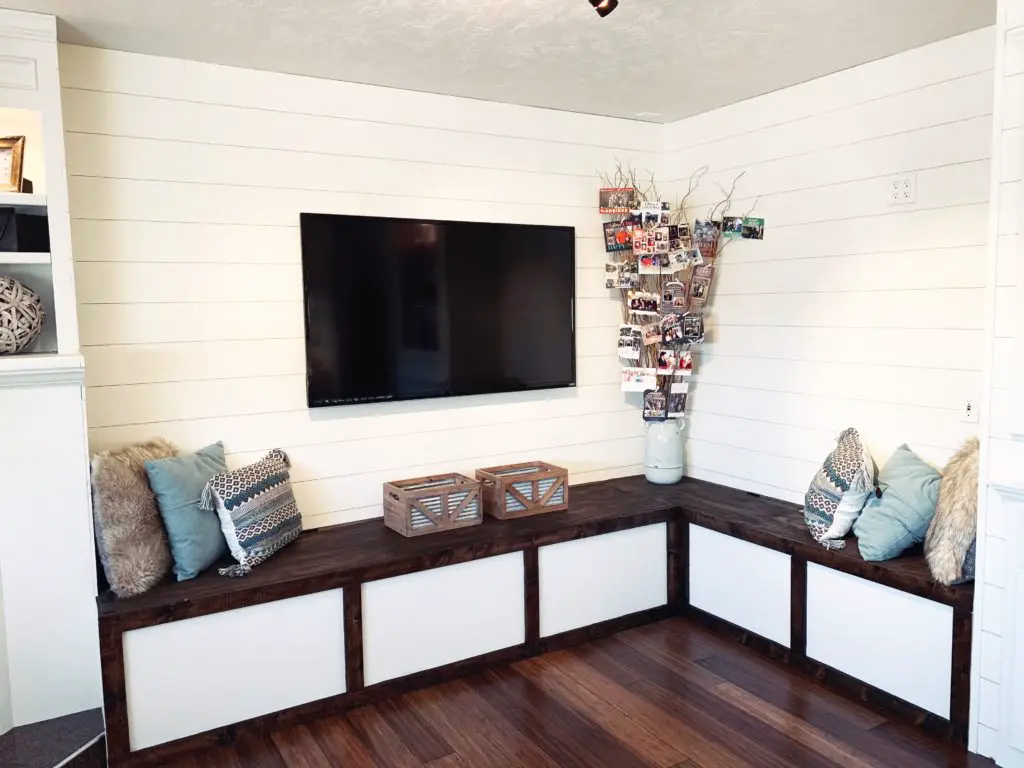
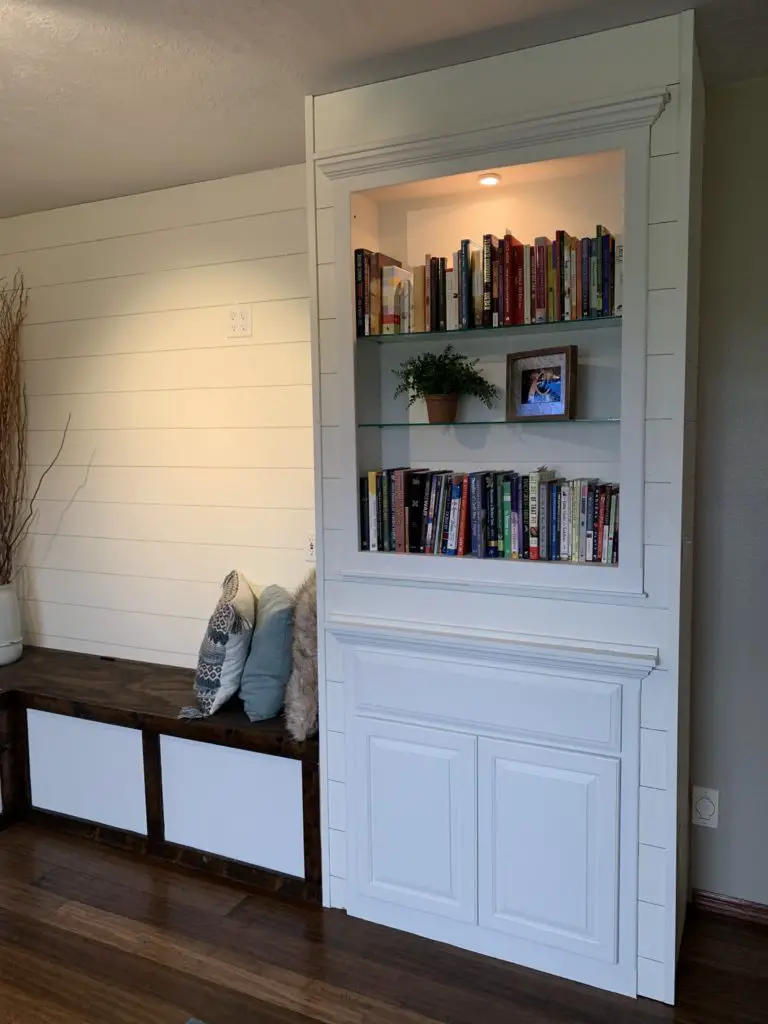
Here is a few close ups of the after….
I hope I have convinced you what a difference a little paint and shiplap can do for your space.
Here are the steps we took to get it done….
First you need to decide what you want to use for your actual shiplap. There are a ton of options out there including real wood planks, reclaimed wood, or ripped-down panels of hardboards or plywood. We went with the plywood option mostly because it was easy and affordable. Here is a list of supplies needed to get the job done…
- 4’x8’x1/2″ plywood, ripped down to 6″ planks*
- Sander with medium grit paper
- Stud finder
- Nail Gun with 1 1/2″ brad nails
- Paintable spackle/woodfiller
- Miter saw, jigsaw and table saw
- Speed square and pencil
- Chalk line
- Paint (I used Sherwin Williams ”)
- Nickels as spacers
- Painting supplies (tarp, brushes, etc.)
First, you need to measure the space you would like to cover with shiplap. Next, we went to Lowes and purchased 4’x8′ x 1/2″ plywood or MDF . MDF is just a cheaper form of plywood and not as hard and heavy which is perfect for this type of project! We had Lowes cut ours into 6″ strips for FREE right in the store!
Once you get your planks home, you may want to sand any rough edges, I actually kept mine because I felt it added more of the rustic look I was going for.
Next you need to mark all the studs in your wall with a stud finder. We used a chalk line and went all the way down the wall.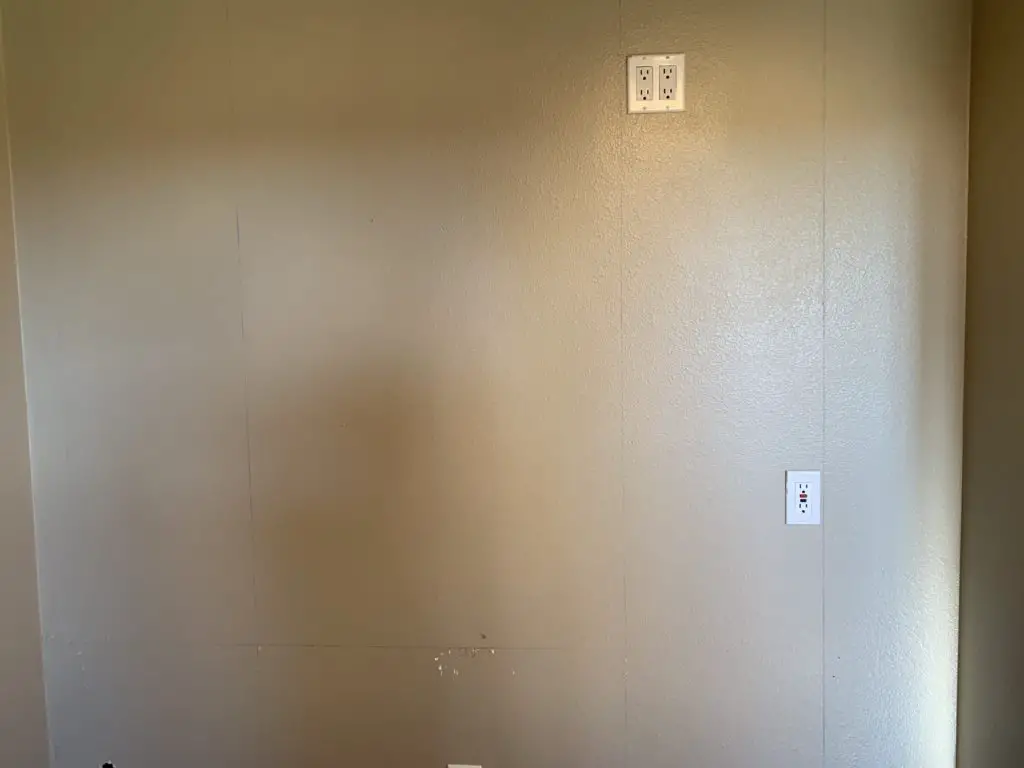
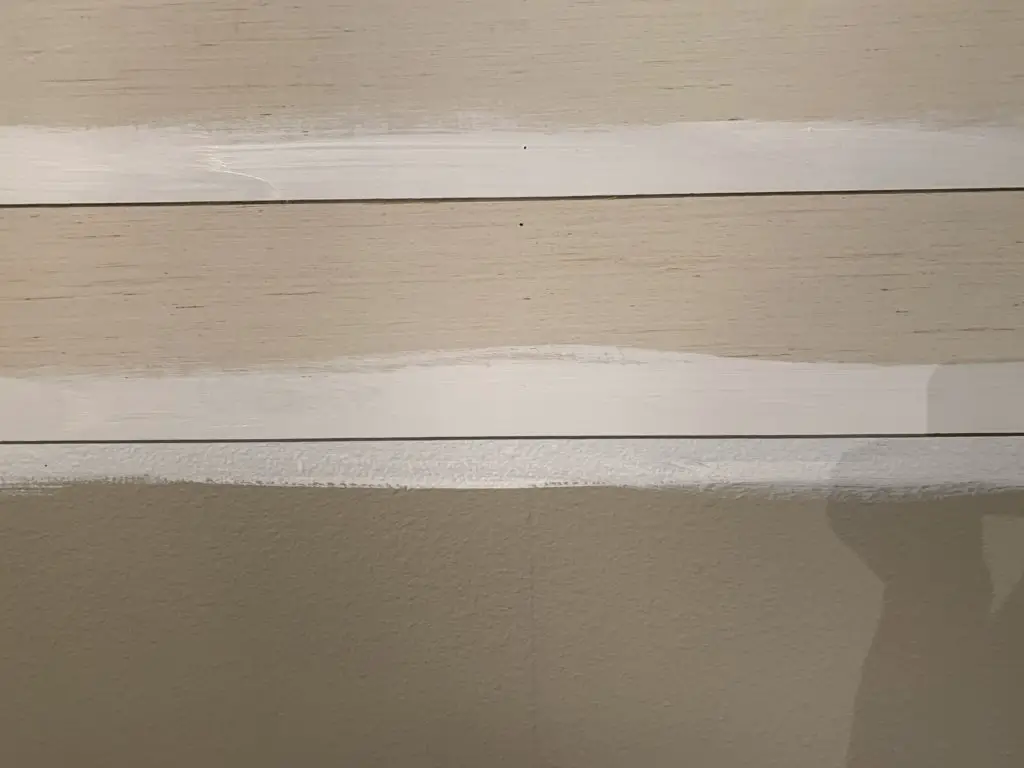
Next you are ready to start laying your planks but before you do that you need to decide whether you want to paint the entire wall behind your planks or just paint as you go? Your main concern is painting whatever color you have chosen for your wall behind your planks where the gaps would be. You need to do this so that your old paint color does not show through your gaps! I chose to be cheap about it and just paint the gaps with a brush as I went!
Here is what that looks like….
We started at the ceiling and worked our way down. We staggered our planks randomly, trying to use as many whole-length boards as we could. We also used nickels to space the boards, and used a nail gun with 1 1/2 brad nails to nail them to the wall. Picture below….
If you run into things like outlet covers and light sockets, you will need to measure appropriately and use your jigsaw to cut around them. We also removed our baseboards at the bottom, applied shiplap all the way to the floor, and put the baseboards back on top when finished.
Next is the fun process of painting the shiplap, I chose to use a roller but you can also use a brush too! I used Sherwin Williams paint and the color I chose was Dove White. 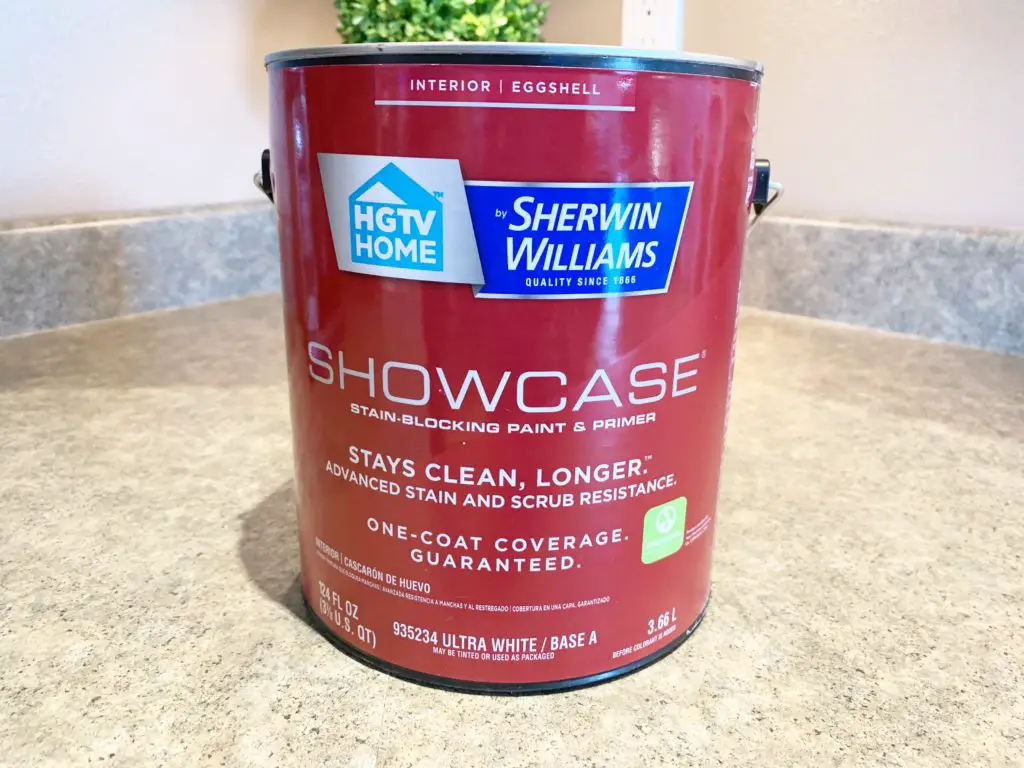
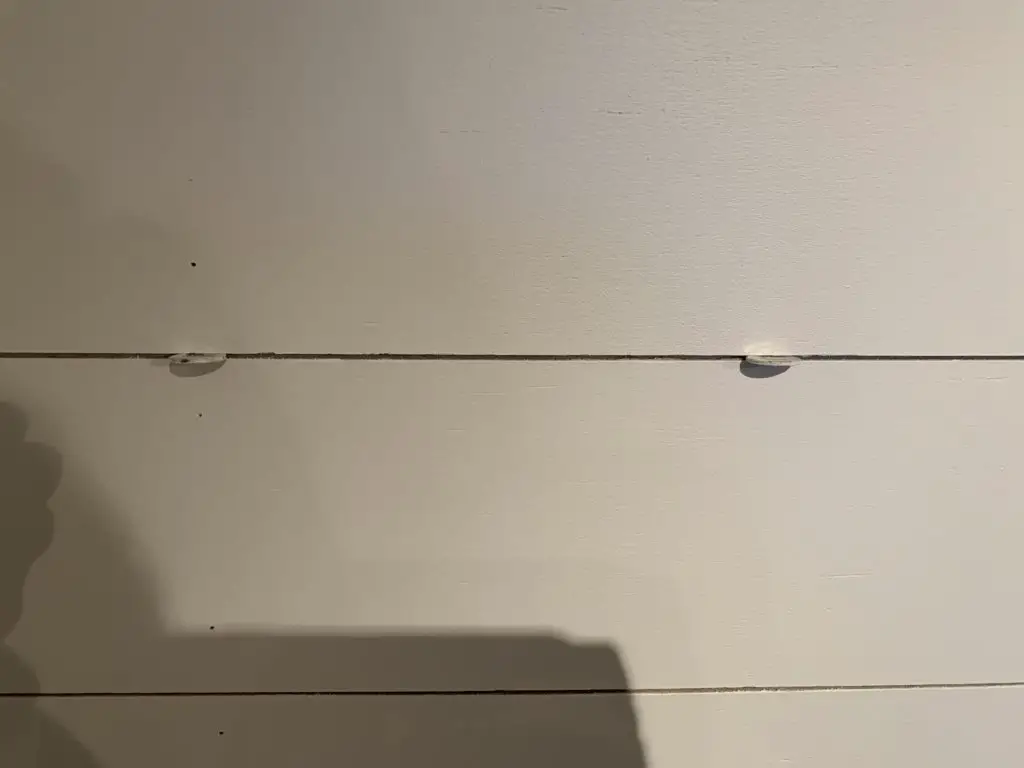
After you are done painting, its down to finishing touches, and the finishing touches come down to preference. I chose to leave my nail holes exposed. I liked the look and felt like it was more rustic that way. Next you may choose to finish your inside corners. This is what we used…
3/4 in x 3/4 in quarter round trim and this is what it looks like…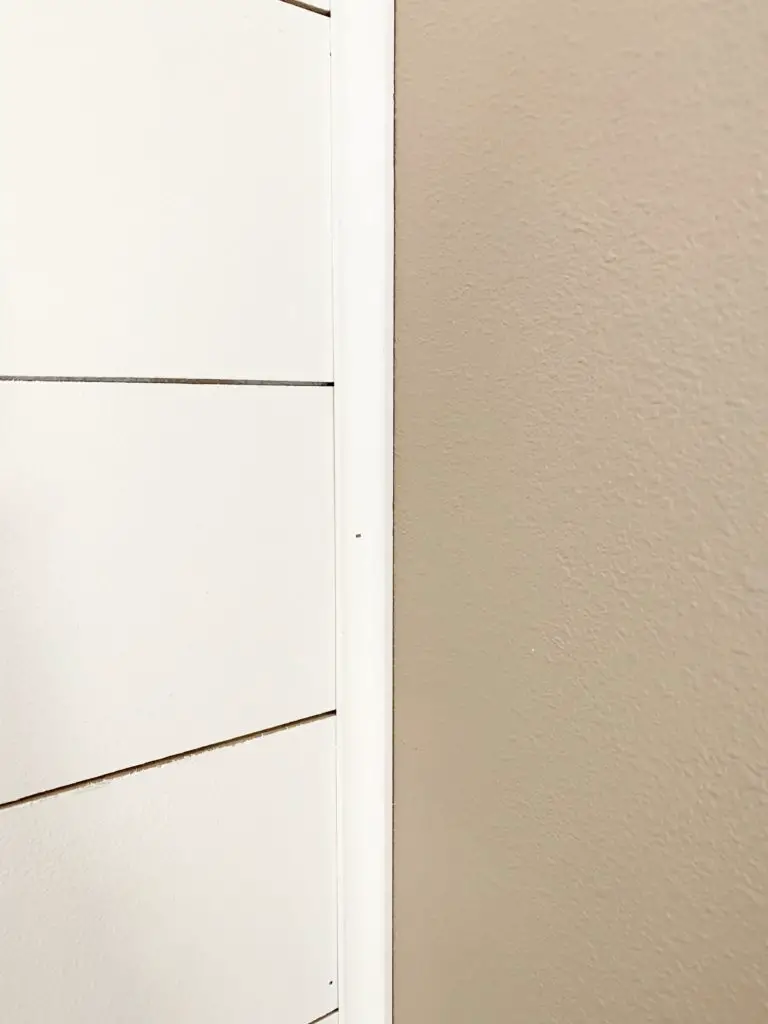
1 1/8 in outside molding (for outside corners) Here is what it looks like ….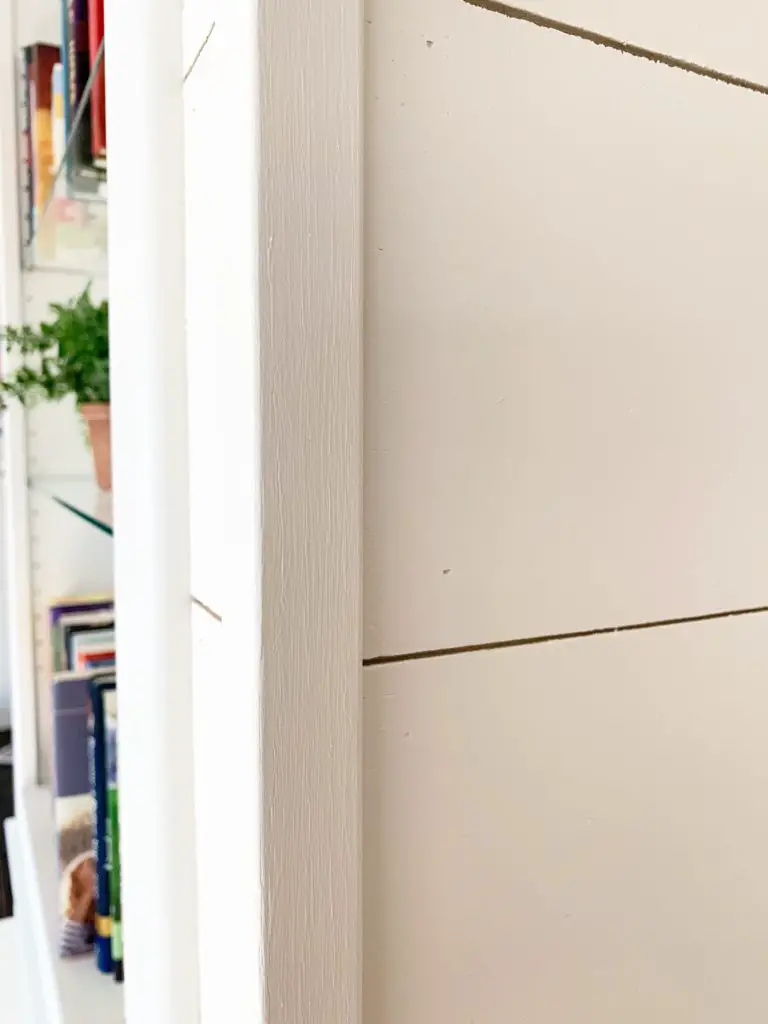 Next, it is just a matter of putting back any baseboard trim and you are DONE!
If you found this helpful will you please comment, pin, and share with your friends! Thanks for stopping!
You did a GREAT job! And what an awesome tutorial!
When using your nail gun did you have to purchase an air compressor as well? Or are there types of nail guns you don’t need an air compressor?
When using a nail gun you’ve got two options. There are nailers available that require an air compressor so you would need a small compressor to accomplish your task. The other option would be to purchase a battery powered nailer which are also available in most power tool sections.
Thank you for sharing! Looks great. Did you use sanded plywood or just regular grade?
We just used and MDF version of plywood which is basically a bit thinner than regular and is mostly sanded down. I hope that helps. Good luck with your new project!
Thank you!! Your walls turned out great! I am looking forward to doing this myself too!
Great job! Did you spackle the seams between the boards or leave them exposed? What did you use the spackle for? I’m excited to begin my project and your tutorial is very helpful!
Can’t wait to do this! Your tutorial is great, easy to follow. Thanks!
Thanks so much for the tutorial! Trying out a shiplap wall this weekend!!
I can’t wait to do this in my living room! I love shiplap walls and I’m so over the current look of the room. As soon as this is done, we’re going to get a hardwood floor resurfacing and start decorating. Thanks for sharing!
It turned out so nice. I love this. Thank you for sharing.
Did you mean 6’ pieces not 6”? Attempting this this weekend!
I think that this looks great! I’m thinking of covering the longest wall of our front hall…
Thank you so much for sharing this project! I loved your idea about the nickel spacers; we used that as well based on how nice your walls turned out. Your pictures really showed the difference shiplap makes.
When you rolled the paint on, how did you keep it out of the gaps, and do you see the unfinished edge of the plywood/MDF in the gaps?
We don’t have true stucco but the laundry walls paint are textured. Do we have to send that off first?
I like the way you wall looks and the directions seemed simple. I’m all about simple. Can’t wait to do my wall. Thanks for sharing